Using Plunify Cloud
The Plunify cloud platform enables running of strategies using the massive computing power available by the public cloud platform.
Plunify Credits & Account
The Plunify cloud works on a credit based, pre-paid, pay-per minute model.
A Plunify user account is required in order to use the Plunify cloud. When submitting a Plunify cloud job, InTime will prompt for the user credentials of the account. Once authenticated,the number of credits linked to the account will be checked and if sufficient credits are available for the job, InTime will submit the job. '
For more information on how to buy credits as well as credit pricing, please refer to https://cloud.plunify.com/.
Submit a Plunify Cloud job
Watch Plunify Cloud Video Tutorial
Here is a video tutorial on how to use Plunify Cloud.
Refer to https://support.plunify.com/en/documentation/submit-intime-runs-to-plunify-cloud/
-
To build on the cloud, change the
Run Targetin your Flow Properties to "Plunify Cloud".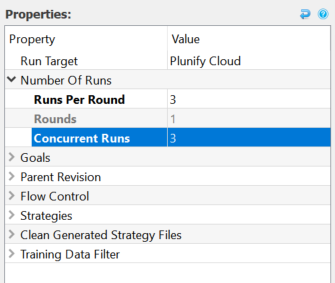 .
.Note
There is no concurrent runs limit on the cloud, whether it is 1 or 100. Always set this to be equal to the number of "Runs Per Round" to get results faster. There is no difference in credits consumed as well.
-
A prompt will appear asking for your credentials

-
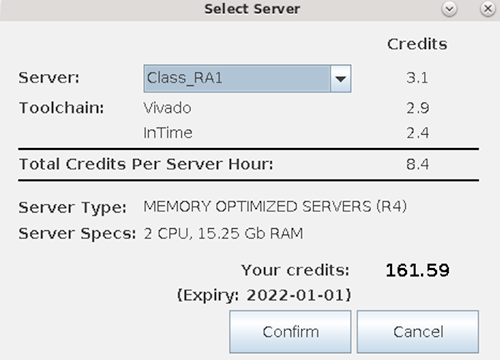
After authenticating the credentials, pick a server. Note that different regions offer different type of servers. Different servers will consume different amount of credits due to difference in CPU and RAM. For the full details, please refer to the FAQ page.
-
InTime will proceed to upload the files to Plunify Cloud. A job ID will be assigned when the uploading is done.
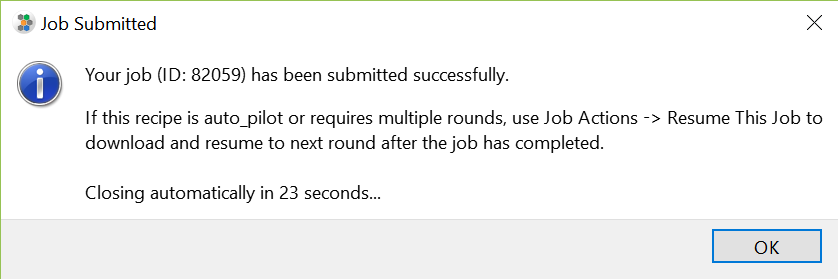
When the job is completed, a notification email will be sent to your email address.
Check Job Status
To check your job status, just right-click your job and select "Job Actions -> Job Status". Click the magnifying glass icon to see the strategy's compilation log. The refresh rate of the log will depend on the network speed.
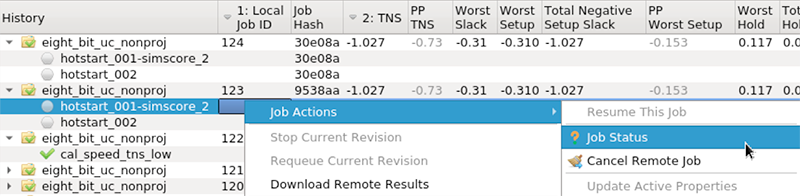


Cancel Job
To cancel a job after being submitted to Plunify Cloud, just right-click your job and select "Job Actions -> Cancel Remote Job".

Download All Results
To download your all your results and related files, just right-click on your job and select "Resume This Job".

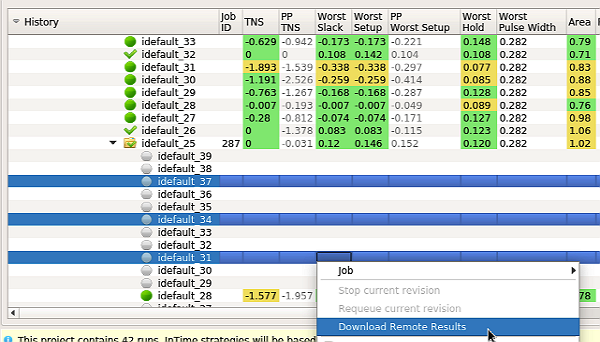
Download Selective Results
To download results selectively, select on the strategies with "Ctrl" key pressed and right click "Download Remote Results".
In this example, user wants to download results for idefault_31, idefault_34 and idefault_37.
A new window will appear and prompt you for the type of files to download.
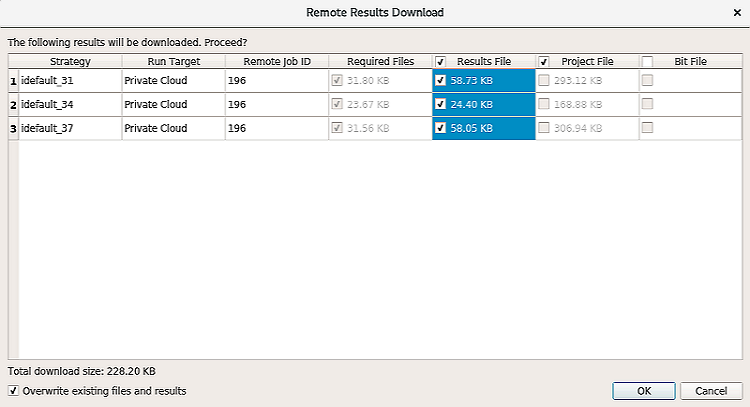
There are 3 types of files:
- Results File - Strategy logs of the builds
- Project File - Netlist/DCP type files, generated by the build
- Bit File - Bitstream file
Download required files first
As DCP and bit files are often much larger in filesize, it is recommended that the "Required Files" are downloaded first. These files are much smaller and thus download is much faster. After downloading, the results will be updated in InTime to reflect the TNS, WNS values of the strategies. You can do the exact same steps again to selective download the "Project File" and "Bit File", which will take a longer time to download due to its filesize.
If there are existing results, select the "Overwrite existing files and results" checkbox, before clicking download.