Configuration for Multiple Seats
To understand how InTime is deployed for multiple seats, please refer to InTime Installation for Multiple Seats.
There are 2 parts to the configuration.
1. Configure the InTime Client - Specify location of the InTime Server.
2. Configure the build environment - Where the FPGA tools are installed.
Configure InTime Client
GUI
Specify the Server IP address and communications port ("comport") information in the dialog shown below. Open the settings dialog using File, then Settings. Under the Private Cloud tab enter the Server IP and "comport", then click Test And Configure as shown below
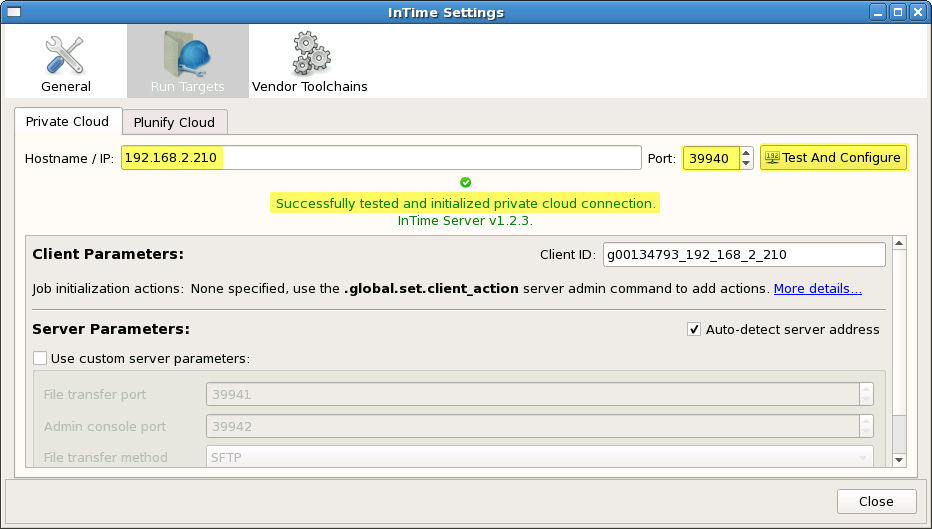
Tip
If your Server was started with multicast enabled, the above fields will be set automatically.
Tcl Script
If you are running the InTime Client in Tcl mode, the following Tcl commands can be used to set the server address.
run_target set private_cloud ip <value>
run_target set private_cloud comport <value>
Once specified, perform a network connection test:
run_target test_connection private_cloud
Successfully received response from InTime Server v1.1.0
Configure Build Environment
To configure all the InTime clients/workers at the same time, InTime uses a setting called "global configuration". All the InTime clients/workers will retrieve this "global configuration" from the InTime Server.
The instructions here applies to either the Admin Console or the Private Cloud Console. To use the Admin Web Portal, please refer to InTime Server Admin Web Portal .
In this example, the FPGA tool is installed at /mnt/opt/Vivado/2019.1 and the tool license is a floating one located at 2100@192.168.10.2.
admin> .global.set.toolchain

Enter Operating System for tool, use .end to exit session.
Operating System: ('1' for Linux, '2' for Windows) [1]

admin.os> 1

Enter tool, use .end to exit session.
Tools: ('1' for QuartusII, '2' for ISE, '3' for Vivado, '4' for QuartusPP)

admin.tool> 1

Enter installation path, use .end to exit session.
For example, /opt/Vivado/2014.2

admin.path> /opt/Vivado/2019.1

Enter license path, use .end to exit session.
For example, /home/user/nodelock.dat or port@hostname for floating license

admin.license> 2100@192.168.10.2

Operating System  : Linux
Tool              : Vivado
Installation path : /opt/Vivado/2019.1
License           : 2100@192.168.10.2

Save to session? ('y' for Yes or 'n' for No) [y]

admin.confirm> y

Add more toolchain? ('y' for Yes or 'n' for No) [y]

admin.confirm> n
To check your what has been configured, just type global.toolchain
admin> global.toolchain

+-----+-------+--------+-----------+--------------------------------+-------------------+
| NO. | OS    | VENDOR | TOOL      | PATH                           | LICENSE           |
+-----+-------+--------+-----------+--------------------------------+-------------------+
| 1   | LINUX | Altera | QuartusII | /mnt/opt/Altera/13.1.2/quartus | 2100@192.168.10.2 |
+-----+-------+--------+-----------+--------------------------------+-------------------+
The InTime Clients and Agents in the network will automatically fetch the toolchain information. Agents will poll and refresh this information at regular intervals. However, if a Client is already running while the Server configuration was being changed, the user must manually fetch the updated information. Alternatively, restart the Client if possible.
To view the rest of the global configuration commands, use the .global command:
user>.global
+-----------------------+---------------------------------------------+
| USAGE                 | DESCRIPTION                                 |
+-----------------------+---------------------------------------------+
| .global.client_action | show configured client settings for workers |
| .global.setting       | show configured setting for workers         |
| .global.toolchain     | show configured toolchains for workers      |
+-----------------------+---------------------------------------------+
Change Working Directory
Each worker requires a location where the build is first saved and compiled. This is called the "working directory". By default the working directory is located at <user home>/plunify. It might be necessary to change this due to diskspace limitations on the volume. To change the working directory, use .global.set.jobsdir in Admin mode.
user>.admin
admin>.global.set.jobsdir=<new working directory path>
Verify Configuration
Verify your toolchains in the InTime Client by going to File -> Settings and then selecting Vendor Toolchains. Click on Fetch Global Configuration to see the toolchains configured on your Server.
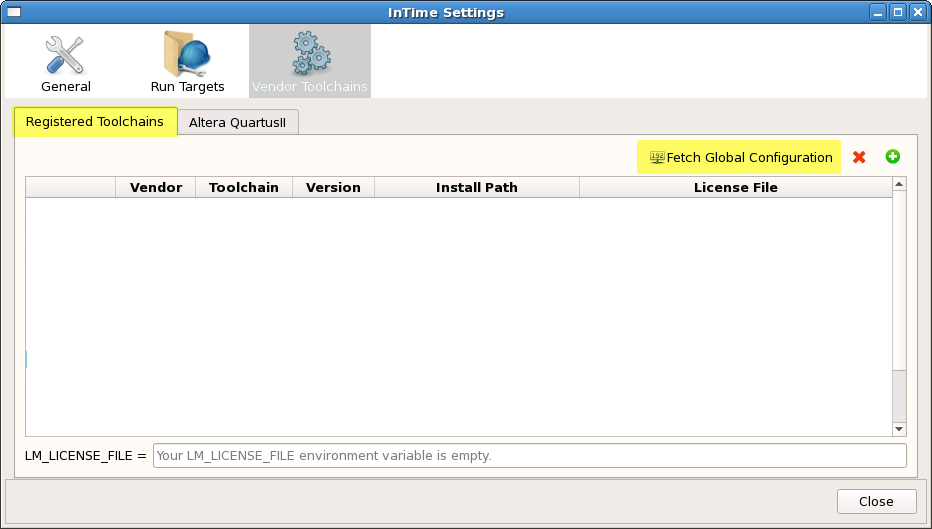
Fetch Global Configuration pulls the information about the FPGA tools that you configured in previous steps. This figure shows many different FPGA tool versions configured in an example setup.
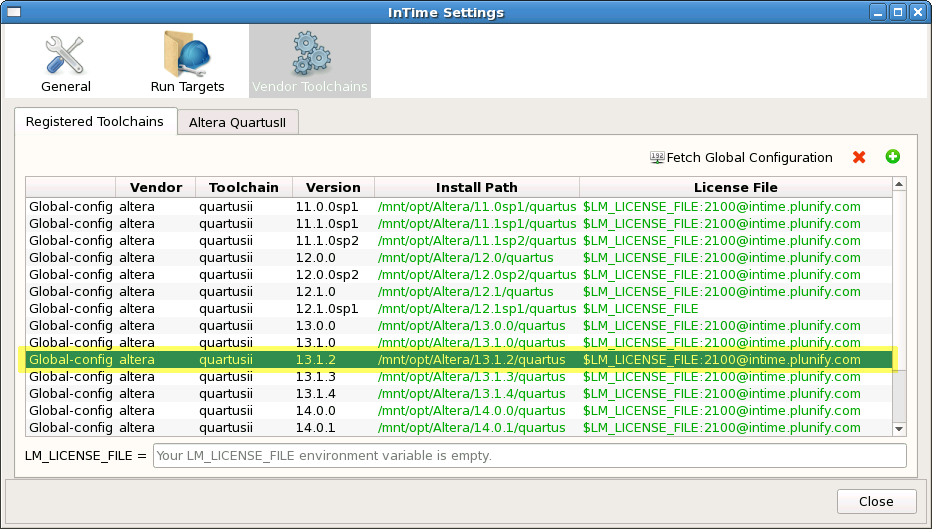
Make sure all the toolchains needed by the Client and build workers are available (Note that they are tagged using the Global-config tag in the first column).
When running the InTime Client in commandline mode, the following Tcl command can be used to fetch the toolchain configuration.
plunify> vendors fetch_global_config
Successfully fetched and applied global vendor configuration.
To view the toolchains which have been fetched, use the following command:
plunify> vendors list
To register new environments, use "vendors register <vendor_name<toolchain<install_path
<license_file>".

Registered Local Tools:
altera
  quartusii
    11.0.0sp1
      Install path: D:/tools/Altera/Quartus/11.0sp1/quartus
      License path: 2100@intime.com
      Category    : Auto-detected
    13.0.0
      Install path: C:/tools/Altera/Quartus/13.0/quartus/
      License path: unconfigured
      Category    : Global-config
Tip
It is possible for the user to register additional toolchains which are only installed on specific machines. Note that the other workers will not be able to use those toolchains.
After the build environment is configured, proceed to launch the InTime agents.