Installation (Single Machine)
InTime can run on a single machine or on multiple servers. This section describes execution on a single server (Refer to Compute Grid to deploy InTime in an environment with multiple build servers).
Note
After installing InTime,
- Node license users: Refer to Configure InTime Client to configure a Node license.
- Floating license users: Refer to Install Floating License Server to install and start a Floating license server.
Operating System Requirements
- 64-bit architectures only
- Windows 10 above / Ubuntu 20.04 LTS / Ubuntu 22.04 LTS / Red Hat Enterprise 8 and above compatible
- Other versions are supported upon request.
- Operating Systems that have reached End Of Life (EOL) will not be supported.
Linux Installation
-
Download the installer from https://cloud.plunify.com/downloads.
-
Open a command-line terminal. Create the folder to install InTime.
$ mkdir -p ~/plunify/intime -
Navigate to the installation folder.
$ cd ~/plunify/intime -
Login as the appropriate user and set user execute permissions for intime_v<version>_64bit_linux.sh. Run the installer script.
~/plunify/intime $ chmod u+x intime_v<version>_64bit_linux.sh ~/plunify/intime $ sh ~/Downloads/intime_v<version>_64bit_linux.sh Verifying archive integrity... All good. Uncompressing Plunify InTime version <version>............................... ............................................................................. ............................................................................. ............................................................................. -
The script extracts installation files and presents a licensing agreement. Follow the onscreen instructions to accept and proceed.
-
A prompt to install default modules will appear. Hit <Enter> to install all the options.
--------------------------------------------------------------------------------
Accept the terms of the Plunify End-User Licensing Agreement ('y' for Yes or 'n' for No)? y

Thank you, proceeding with installation...

Install default modules (Recommended)? ('y' for Yes or 'n' for No) [y] y
Installing defaults...


Installing 64-bit JRE...

InTime installation complete.
Three options for modules
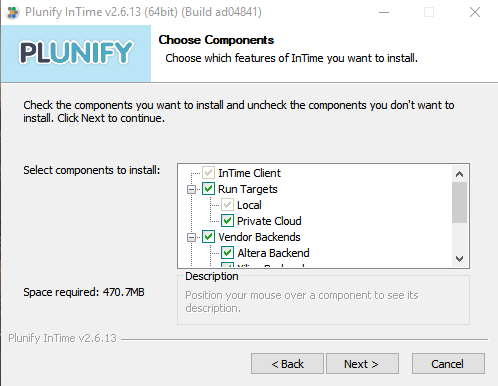
"Local" - on a standalone PC where InTime is installed.
"Private Cloud" - Over multiple computers in the user's network.
"Plunify Cloud" - Using Plunify-managed cloud computing resources.
Local is always installed, but the rest are optional. Seerun_targetsunder Flow Properties for more information on the different options. -
Finally, the installer creates InTime-related shortcuts on the user's desktop.
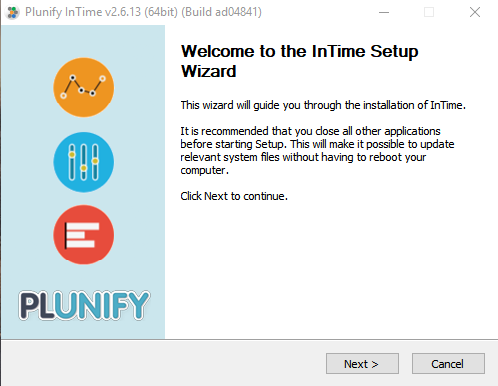
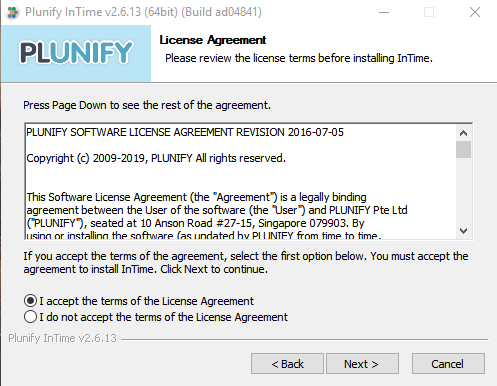
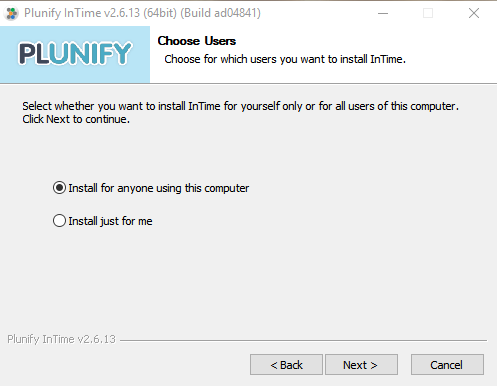
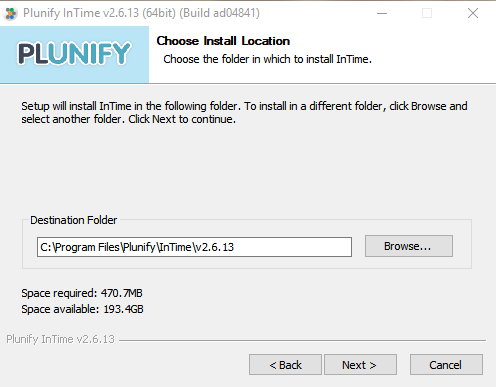
Windows Installation
-
Download the Linux installer from https://cloud.plunify.com/downloads.
-
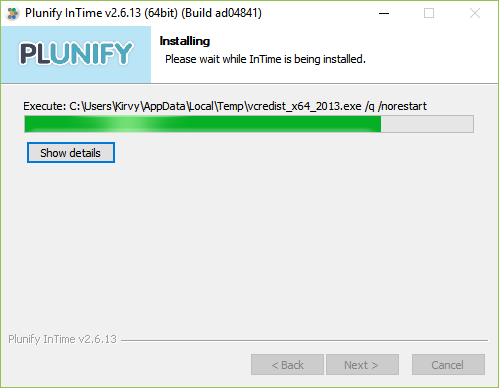
Run the installer by double-clicking the downloaded file. The installer wizard contains the following pages which guide you through the installation process. Just follow the process below.
Unattended Installation
Assuming the InTime version is 3.0.2.
For Windows:
C:\Users\Test\Downloads> intime_v3.0.2_64bit_win.exe /AllUsers /S /NCRD
For Linux:
$ ACCEPT_LICENSE=1 DEFAULT_INSTALL=1 sh intime_v3.0.2_64bit_linux6.sh